


How To Clean A Commercial Gas Fryer
A commercial Gas Fryer is one of the most valuable appliances in any restaurant kitchen. It delivers fast cooking performance and consistent results — but without proper cleaning, even the best fryer can lose efficiency, affect food flavor, and shorten its lifespan.
Regular cleaning is essential to maintain oil quality, prevent carbon buildup, and keep your kitchen operating safely. In this article, we’ll explain How To Clean A Commercial Gas Fryer step by step, share maintenance tips, and introduce why MLP Kitchen Equipment fryers are designed for easy cleaning and long-term durability.
1. Why Cleaning Your Gas Fryer Matters
Cleaning your fryer isn’t just about appearance — it directly affects performance, safety, and food quality.
Key Benefits of Regular Cleaning:
Improved heat efficiency: Clean burners and tanks transfer heat more effectively, saving gas.
Better food taste: Removing old oil residue prevents flavor contamination.
Longer equipment life: Regular cleaning prevents corrosion and component damage.
Fire prevention: Cleaning eliminates flammable grease buildup.
Compliance with hygiene standards: Ensures your kitchen meets food-safety regulations.
A well-maintained fryer performs more efficiently and reduces oil replacement costs in the long run.
2. Tools and Materials You’ll Need
| Cleaning Item | Purpose |
|---|---|
| Fryer brush or cleaning rod | Scrub internal surfaces and burner areas |
| Fryer cleaning solution or degreaser | Dissolves oil and carbon deposits |
| Plastic scraper | Removes stuck debris without scratching the surface |
| Bucket or container | For draining oil safely |
| Hot water | Helps dissolve grease effectively |
| Protective gloves & apron | Ensures safety during cleaning |
| Paper towels or soft cloths | For wiping surfaces dry |
Always use non-abrasive materials and food-safe cleaners to avoid damaging the fryer’s finish.
3. Step-by-Step: How To Clean a Commercial Gas Fryer
Follow these steps to clean your fryer thoroughly and safely.
Step 1: Turn Off the Fryer and Let It Cool
Turn off the gas supply and power source. Allow the oil to cool down to about 50°C (120°F) before draining — hot enough to flow easily, but not dangerous to handle.
Step 2: Drain the Oil Completely
Place a metal container or designated oil pot beneath the drain valve. Slowly open the valve and drain the oil completely.
If you plan to reuse the oil, filter it through a fine mesh to remove food particles before storage.
Step 3: Remove Baskets and Accessories
Take out the fryer baskets, crumb screens, and oil splash guards. Wash them separately in warm, soapy water or run them through a commercial dishwasher.
Step 4: Scrape and Brush the Interior
Use a plastic scraper or fryer brush to remove built-up carbon or crumbs inside the oil tank.
Focus on corners and heating tubes where residue tends to accumulate. Avoid using metal tools that can scratch the surface.
Step 5: Fill the Tank with Hot Water and Cleaning Solution
Fill the fryer with hot water up to the “oil level” mark and add a degreasing solution according to the manufacturer’s instructions.
Turn on the fryer briefly (without gas flame) to simmer the cleaning mixture for about 10–15 minutes. This helps loosen sticky oil and burnt residue.
Step 6: Drain and Rinse
Carefully drain the cleaning solution into a safe container. Refill the fryer with clean water, then drain again to remove detergent residue.
Repeat rinsing until the interior is completely clean.
Step 7: Dry the Fryer Thoroughly
Wipe the inside with paper towels or lint-free cloths. Leave the drain valve open for a few minutes to air dry completely.
Make sure no water remains before refilling with oil — leftover moisture can cause splattering or shorten oil life.
Step 8: Clean the Exterior
Use a damp cloth and mild detergent to wipe down the fryer’s exterior surfaces, knobs, and handles. Avoid spraying water directly onto control panels or gas connections.
Step 9: Reassemble and Refill with Oil
Once dry, reattach the fryer baskets and filters. Close the drain valve securely and refill with filtered or fresh oil. Turn on the gas and test the burners before use.
4. Deep Cleaning (Boil-Out Method)
In addition to daily cleaning, perform a deep clean (boil-out) at least once a month to remove stubborn grease and carbon buildup.
How To Perform a Boil-Out:
Drain oil completely and wipe the tank.
Fill with hot water and fryer cleaner up to the oil line.
Boil the mixture at low heat for 20–30 minutes.
Turn off heat and let it cool slightly.
Scrub the interior with a fryer brush.
Drain and rinse thoroughly with warm water.
Dry completely before refilling with oil.
This method restores the fryer’s original condition, improving efficiency and safety.
5. Cleaning Schedule
| Frequency | Task |
|---|---|
| After Each Use | Filter oil and wipe surfaces |
| Daily | Drain oil, clean fry pot, baskets, and burners |
| Weekly | Deep clean flue and gas burner openings |
| Monthly | Perform full boil-out cleaning |
| Quarterly | Inspect thermostat calibration and gas connections |
Following this routine helps maintain consistent performance and extend equipment lifespan.
6. Safety Tips During Cleaning
Always turn off the gas before cleaning.
Avoid using cold water on hot surfaces, as this can cause metal warping.
Wear gloves and safety glasses to protect from hot water or cleaning chemicals.
Do not submerge electrical or control components.
Ensure the fryer is completely dry before relighting the burners.
Safety and patience are key to proper fryer maintenance.
7. Why Choose MLP Kitchen Equipment Gas Fryers
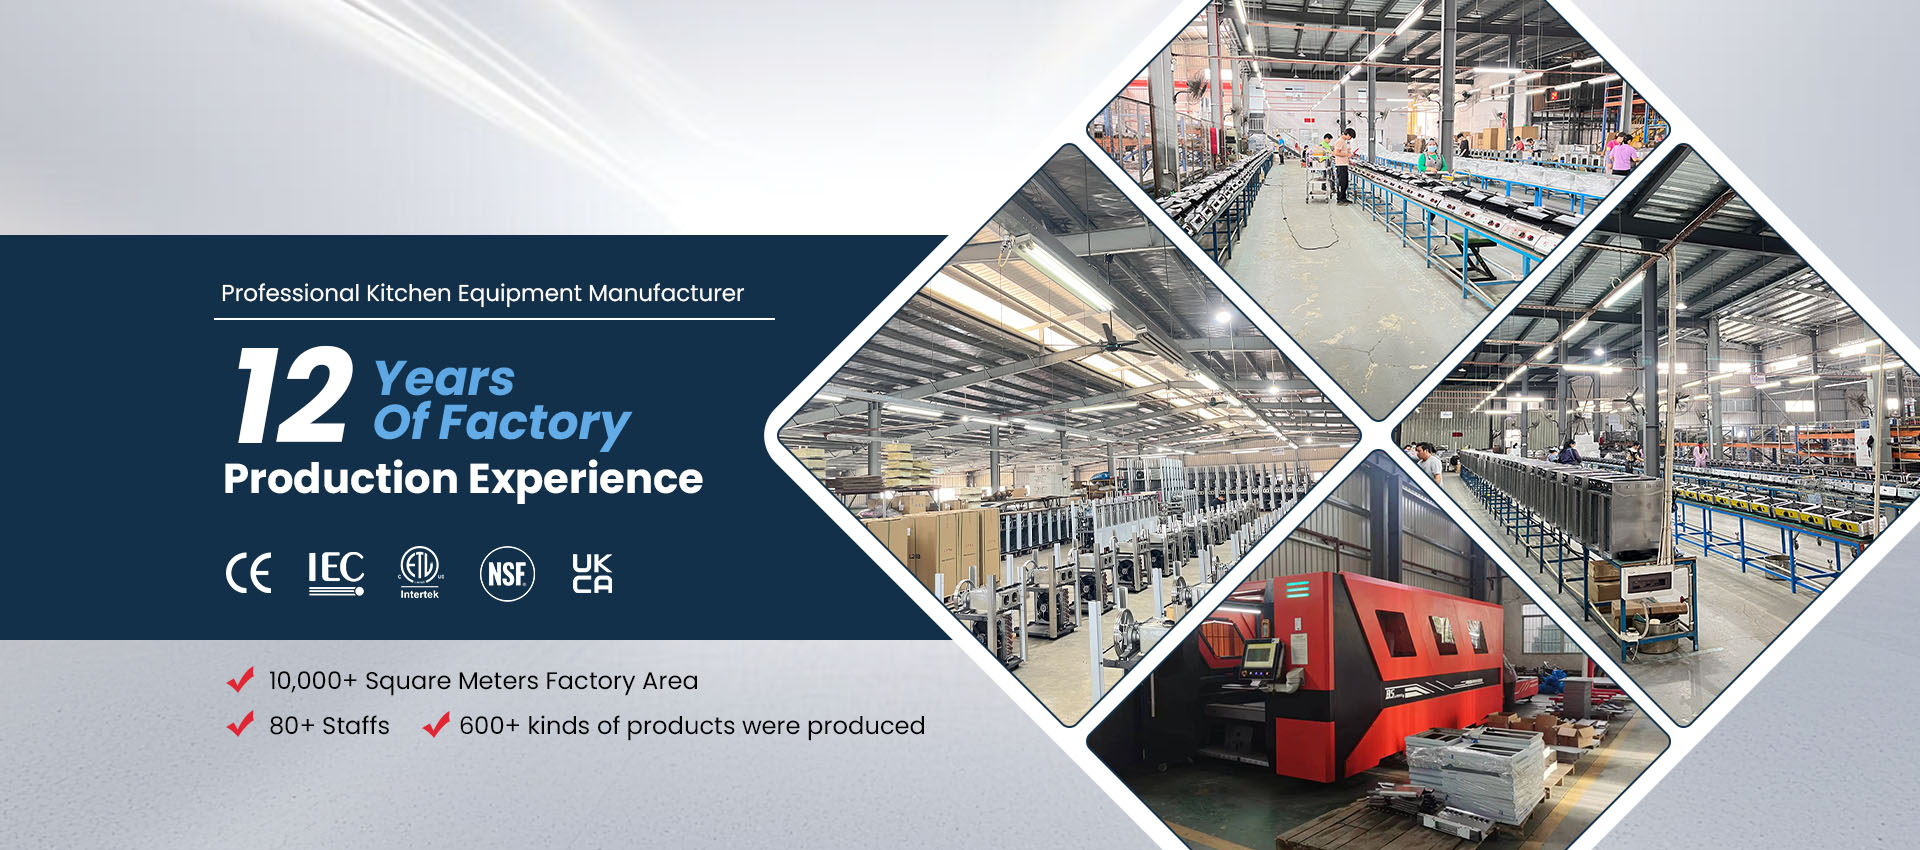
MLP Kitchen Equipment, located in Jiangmen City, Guangdong Province, specializes in energy-efficient commercial cooking appliances, including gas fryers, griddles, and ranges.
Our gas fryers are specifically designed for easy cleaning and maintenance, featuring:
Removable stainless-steel oil tanks for simple draining and washing.
Smooth surfaces and rounded corners to prevent residue buildup.
High-efficiency burners with accessible openings for cleaning.
Easy-lift baskets and filters to simplify daily maintenance.
Durable stainless-steel construction that resists corrosion and wear.
CE, UL, and UKCA certifications meeting global safety standards.
MLP fryers combine high performance with low maintenance, helping restaurants save time, gas, and oil while maintaining top-quality food output.
8. Maintenance Checklist
| Task | Description | Frequency |
|---|---|---|
| Filter oil | Remove crumbs to extend oil life | After every use |
| Clean burners | Wipe and check flame color | Weekly |
| Check thermostat | Verify temperature accuracy | Monthly |
| Inspect gas hose | Ensure no leaks or cracks | Quarterly |
| Perform boil-out | Deep clean to remove residue | Monthly |
Consistent maintenance ensures reliable performance and reduces costly repairs.
9. Conclusion
Cleaning a commercial gas fryer is vital to ensure food quality, safety, and energy efficiency. The process involves draining, scrubbing, rinsing, and drying — and should be part of every kitchen’s daily routine.
For professional kitchens seeking durable, easy-to-maintain equipment, MLP Kitchen Equipment offers high-efficiency gas fryers designed with accessibility and hygiene in mind. With strong heat output, user-friendly controls, and easy-clean stainless-steel construction, MLP fryers make every cleaning task faster and more convenient — ensuring your kitchen always runs at its best.
Previous: How To Clean Flute Of Gas Fryer