


How To Hook Lp Gas 40 Lb Fryer
Installing and connecting a 40 lb LP (liquefied propane) Gas Fryer correctly is critical for safe, efficient, and long-lasting operation. Whether you’re setting it up for a restaurant kitchen, food truck, or outdoor catering service, proper gas hookup ensures stable heat output and prevents leaks or ignition issues.
This article provides a detailed, step-by-step guide on how to hook an LP gas fryer, what tools you need, safety measures to follow, and why MLP Kitchen Equipment designs its commercial gas fryers for easy installation and safe operation.
1. What Is an LP Gas Fryer
An LP gas fryer uses propane as its fuel source, stored in a pressurized cylinder. Propane delivers high energy output, making it ideal for commercial fryers that need fast heating and high oil recovery rates.
A 40 lb fryer refers to its oil capacity — it can hold up to 40 pounds (around 18 liters) of oil, commonly used in restaurants, hotels, and food stalls for frying chicken, fish, fries, and more.
MLP Kitchen Equipment LP fryers come with standard 3/4-inch gas inlets, making them compatible with most commercial propane systems.
2. Tools and Materials You’ll Need
| Tool / Part | Purpose |
|---|---|
| LP gas regulator (10–15 PSI) | Controls gas pressure from tank to fryer |
| Gas hose (CSA/UL certified) | Connects regulator to fryer inlet |
| Wrench set | Tightens fittings securely |
| Thread sealant or gas-rated tape | Ensures airtight joints |
| Soapy water solution | Tests for gas leaks |
| Protective gloves | Safety during installation |
3. Step-by-Step: How To Hook Lp Gas 40 Lb Fryer
Step 1: Choose the Installation Location
Place the fryer on a flat, stable, non-combustible surface.
Keep at least 12 inches of clearance around the fryer for ventilation.
If installed indoors, ensure proper exhaust and ventilation systems are active.
Avoid placing the fryer near open flames, ovens, or electrical cords.
LP gas is heavier than air — ensure your space has adequate airflow to prevent gas accumulation.
Step 2: Inspect the Fryer and Components
Before connecting anything:
Make sure the fryer’s gas inlet valve and burner knobs are in the OFF position.
Check that the gas hose and fittings are clean, free of cracks, or obstructions.
Verify that the fryer’s inlet size matches your regulator output (usually 3/4-inch NPT).
Step 3: Attach the Regulator to the Propane Tank
Securely connect the regulator to your LP gas cylinder valve.
Hand-tighten first, then use a wrench to snug the connection — do not overtighten.
Ensure the regulator is rated for 10–15 PSI output (standard for commercial fryers).
This regulator controls gas pressure and prevents excessive flow to the burner.
Step 4: Connect the Gas Hose to the Fryer Inlet
Apply thread sealant or gas-rated tape to the male threads of the fryer’s gas inlet.
Attach the gas hose fitting and tighten it firmly with a wrench.
Connect the other end of the hose to the regulator outlet.
Avoid twisting or kinking the hose, as this can block gas flow.
Step 5: Check for Leaks (Critical Step)
Once all connections are in place:
Turn on the propane tank valve slowly to pressurize the line.
Mix soapy water in a spray bottle and apply it to every joint and connection.
Look for bubbles — these indicate gas leaks.
If bubbles appear, turn off the gas immediately, tighten the fittings, and retest.
Never use an open flame to test for leaks.
Step 6: Ignite the Fryer Burners
Once leak testing is complete and safe:
Open the gas valve on the fryer.
Turn the control knob to the “PILOT” position.
Hold down the pilot ignition button (or use a match/lighter if manual).
Once the pilot flame ignites, hold the button for 30 seconds, then release.
Turn the knob to “ON” to activate the main burners.
You should see a steady blue flame under the fry pot. A yellow or flickering flame indicates improper air or gas flow — recheck the connections or clean the burner ports.
Step 7: Adjust Air-to-Gas Ratio (if necessary)
If the flame is not burning cleanly:
Locate the air shutter on the venturi tube.
Loosen its screw slightly and adjust until the flame turns bright blue with minimal noise.
Tighten the screw to lock the position.
Correct adjustment ensures maximum combustion efficiency and prevents soot buildup.
Step 8: Test Heat Performance
Fill the fryer with oil up to the marked level.
Set the thermostat to 175–180°C (347–356°F).
Allow the fryer to preheat — most 40 lb LP fryers reach target temperature within 10–12 minutes.
Observe the flame behavior and temperature stability to ensure proper operation.
4. Safety Precautions
Always turn off the gas supply before cleaning or moving the fryer.
Do not store propane cylinders indoors or near heat sources.
Use only approved hoses and regulators rated for propane.
Regularly inspect connections for wear or leaks.
Keep a Class K fire extinguisher nearby for emergencies.
Never exceed the oil fill line — hot oil expands during heating.
5. Routine Maintenance After Installation
| Maintenance Task | Frequency | Purpose |
|---|---|---|
| Inspect gas hose and fittings | Weekly | Prevent leaks and damage |
| Clean burners and flue | Monthly | Maintain strong flame performance |
| Check thermostat accuracy | Quarterly | Ensure correct oil temperature |
| Replace worn seals | As needed | Maintain airtight gas connections |
| Perform full system inspection | Every 6 months | Guarantee safe operation |
Consistent maintenance helps your LP gas fryer perform efficiently and safely.
6. Why Choose MLP Kitchen Equipment Gas Fryers
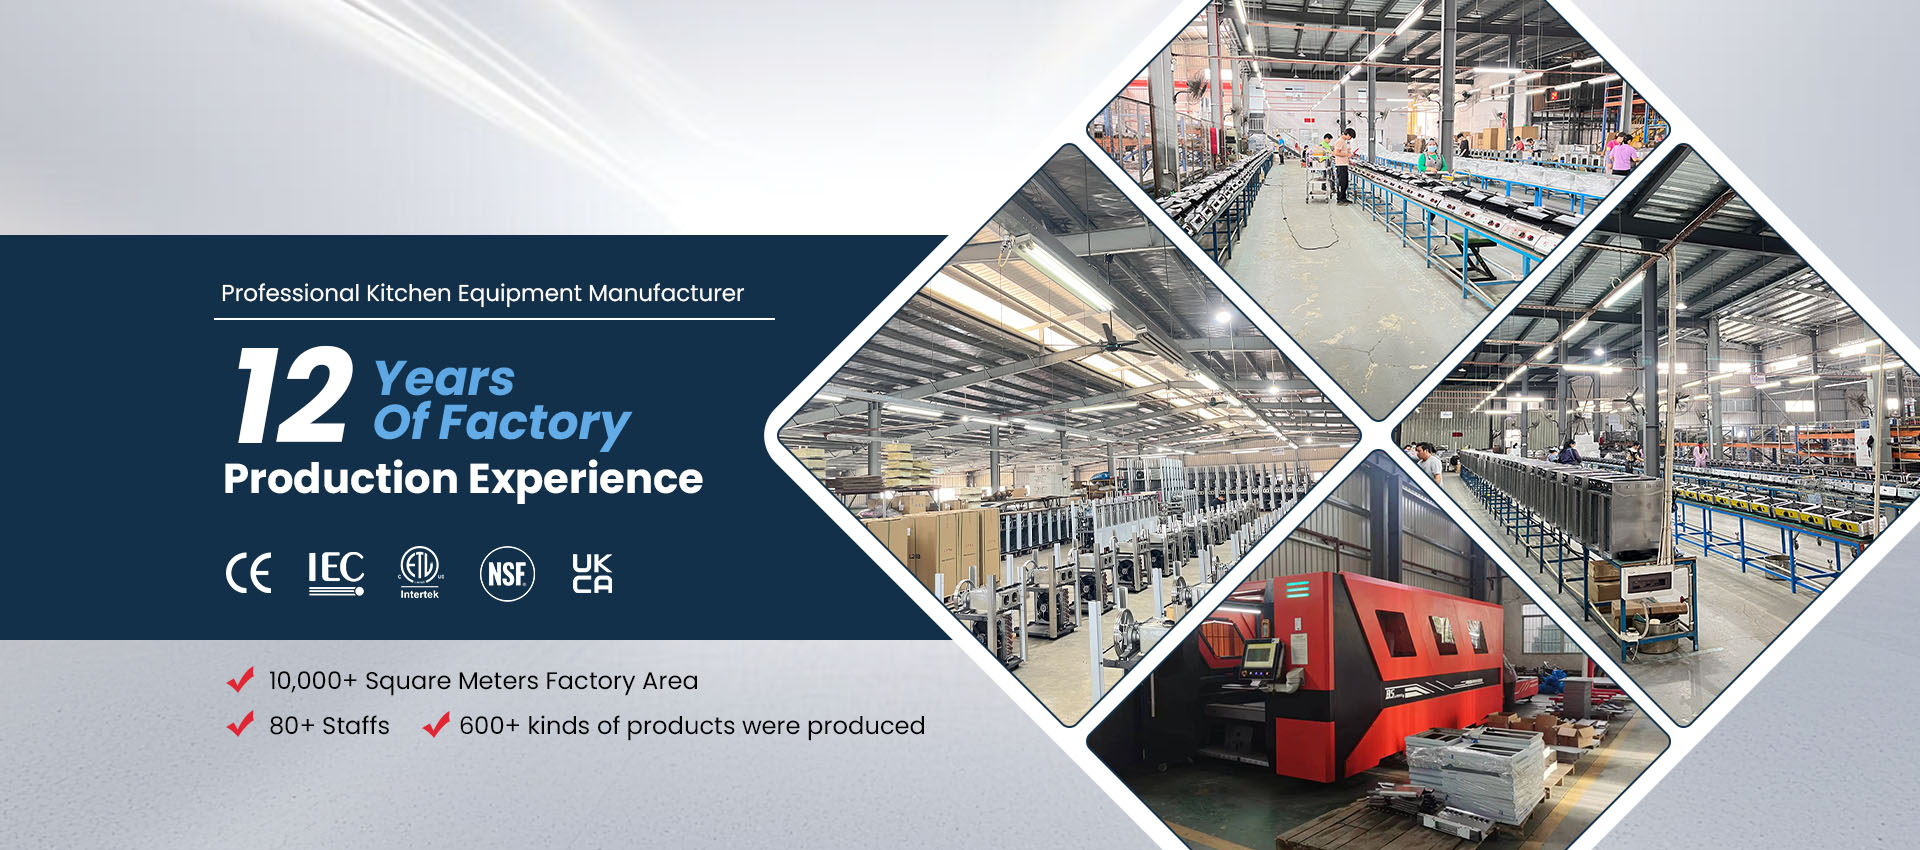
MLP Kitchen Equipment, located in Jiangmen City, Guangdong Province, specializes in energy-saving commercial cooking appliances such as gas fryers, griddles, and ranges.
Our 40 lb LP gas fryers are designed for fast heating, low energy consumption, and easy installation, featuring:
3/4-inch standard LP gas connection compatible with commercial propane systems.
High-efficiency burners (90,000–120,000 BTU) for quick temperature recovery.
Durable stainless-steel construction that resists corrosion and high heat.
Accurate thermostatic control to maintain oil temperature within ±2°C.
CE, UL, and UKCA certifications ensuring global safety compliance.
OEM/ODM service for custom branding and gas configurations.
Our design philosophy prioritizes performance, safety, and easy maintenance, making MLP fryers ideal for restaurants, food trucks, and catering professionals worldwide.
7. Troubleshooting Common Issues
| Issue | Possible Cause | Solution |
|---|---|---|
| Burner won’t ignite | Air in gas line or blocked pilot | Purge line and clean pilot jet |
| Weak flame | Low pressure or dirty orifice | Check regulator, clean burners |
| Flame turns yellow | Incorrect air mix | Adjust air shutter |
| Gas smell | Loose connection | Turn off gas, tighten, test again |
| Uneven heating | Debris in burners | Clean thoroughly with brush |
Most minor issues can be fixed through cleaning and careful adjustment.
8. Conclusion
Hooking up an LP gas 40 lb fryer requires careful connection of the regulator, hose, and fryer inlet, followed by leak testing and flame adjustment. Proper installation ensures safe and efficient performance, helping your fryer deliver consistent results in every batch.
For reliable, easy-to-install fryers built to professional standards, choose MLP Kitchen Equipment. Our commercial LP gas fryers feature efficient heating systems, precise controls, and durable stainless-steel designs — the perfect choice for restaurants and catering kitchens seeking both performance and safety.