


How To Install Cooking Range
Understanding the Installation Requirements
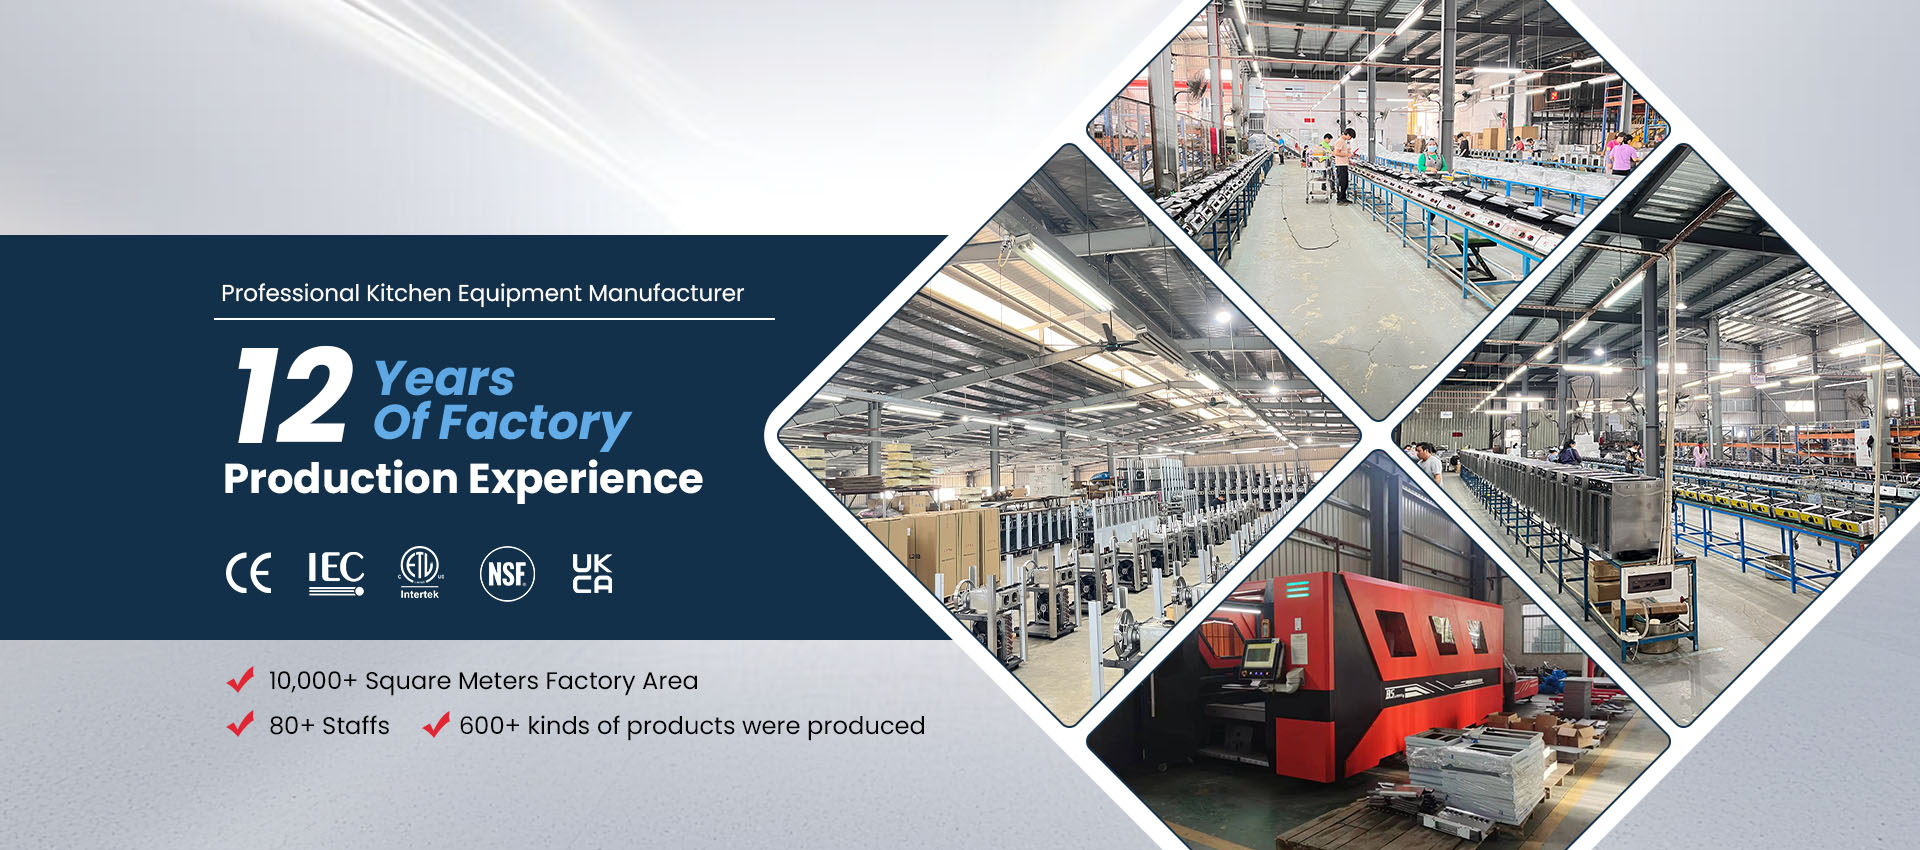
A cooking range combines a cooktop and an oven into one appliance. Proper installation ensures safety, stable performance, and long-term durability. Every unit must be positioned, connected, leveled, and tested correctly. In professional production environments, our factory emphasizes structural stability, heat-resistant materials, and strict electrical and gas-safety standards—principles that apply equally during installation.
Preparing the Installation Area
Ensure the location meets ventilation, clearance, and power requirements.
The floor must be level and capable of supporting the appliance’s weight.
Measure the space to confirm there is enough clearance on the sides and back for airflow and heat protection.
Key Checks
Adequate distance from walls and cabinets
Heat-resistant surfaces nearby
Proper access for wiring or gas connection
Easy reach to shutoff valves or switches
Positioning the Cooking Range
Move the cooking range into the designated area carefully to avoid scratching floors.
Leave enough space behind the range to complete connections.
For electric or induction models, ensure the back panel aligns with the outlet height.
For gas models, position the unit close enough for the flexible hose to connect without strain.
Electrical Connection (Electric Ranges)
Turn off the main power before making any connection.
Install a dedicated outlet that matches the appliance’s voltage and amperage requirements.
Connect the power cord according to the terminal block configuration—typically labeled for clarity.
Important Considerations
Use a grounded outlet
Follow color-coded wiring instructions
Ensure the cord clamp is secured
Restore power only after all panels are reattached
The stable electrical design in professionally manufactured ranges relies on correct wiring to maintain consistent heating and safety.
Gas Connection (Gas or Dual-Fuel Ranges)
Always close the gas supply before connecting.
Attach the flexible gas hose to the inlet valve using approved fittings.
Tighten securely, then apply a leak-detection solution to all joints.
Open the gas supply and monitor for bubbles to confirm no leaks.
Safety Notes
Do not overtighten brass fittings
Avoid kinks in the hose
Ensure the shutoff valve is accessible
Perform a leak test every time the unit is reinstalled
Durability and corrosion resistance—features emphasized in our own manufacturing—are critical for long-term gas safety.
Leveling the Range
Use adjustable legs to level the appliance.
Place a spirit level on the cooktop surface and adjust until the unit is fully balanced.
Proper leveling ensures even oven cooking and prevents liquids from pooling on the cooktop.
Installing Anti-Tip Brackets
Attach the anti-tip bracket to the floor or wall according to the template.
Slide the cooking range backward until the rear leg locks into the bracket.
This prevents accidental tipping when heavy cookware is placed on the open oven door.
Testing the Appliance
After all connections are secure:
For Electric Ranges
Turn on each burner
Preheat the oven
Check for consistent heating
For Gas Ranges
Ignite all burners
Confirm flame stability and color
Test oven ignition and temperature rise
Any unusual odors during first heating are typically from protective film or manufacturing residue burning off.
Final Safety and Maintenance Checks
Confirm the unit sits flush with counters
Ensure ventilation openings are unobstructed
Verify the control panel operates correctly
Remove all packaging from inside the oven
Review the user manual for model-specific instructions
Routine inspection and proper operation extend the lifespan of the cooking range—standards that align with the durability goals guiding our equipment production.
Final Guidance
Installing a cooking range requires careful positioning, correct power or gas connection, precise leveling, and thorough safety checks. By following proper installation procedures, the appliance operates efficiently and safely in homes or commercial kitchens. With a foundation in professional manufacturing practices—emphasizing structural integrity, efficient heating systems, and reliable safety features—this installation method ensures long-term stable performance.